User Management
Last updated: January 21, 2026
Overview
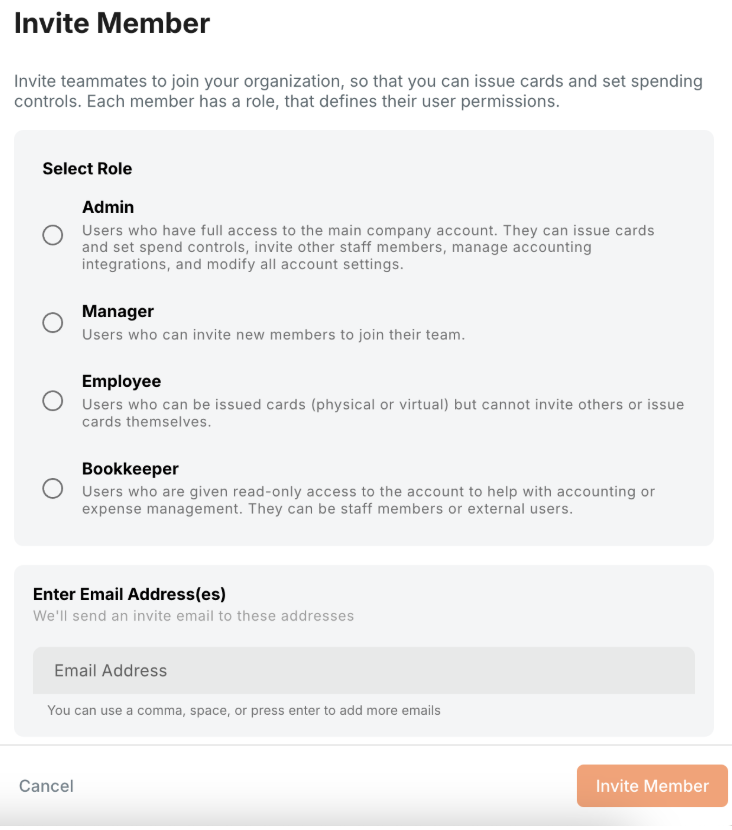
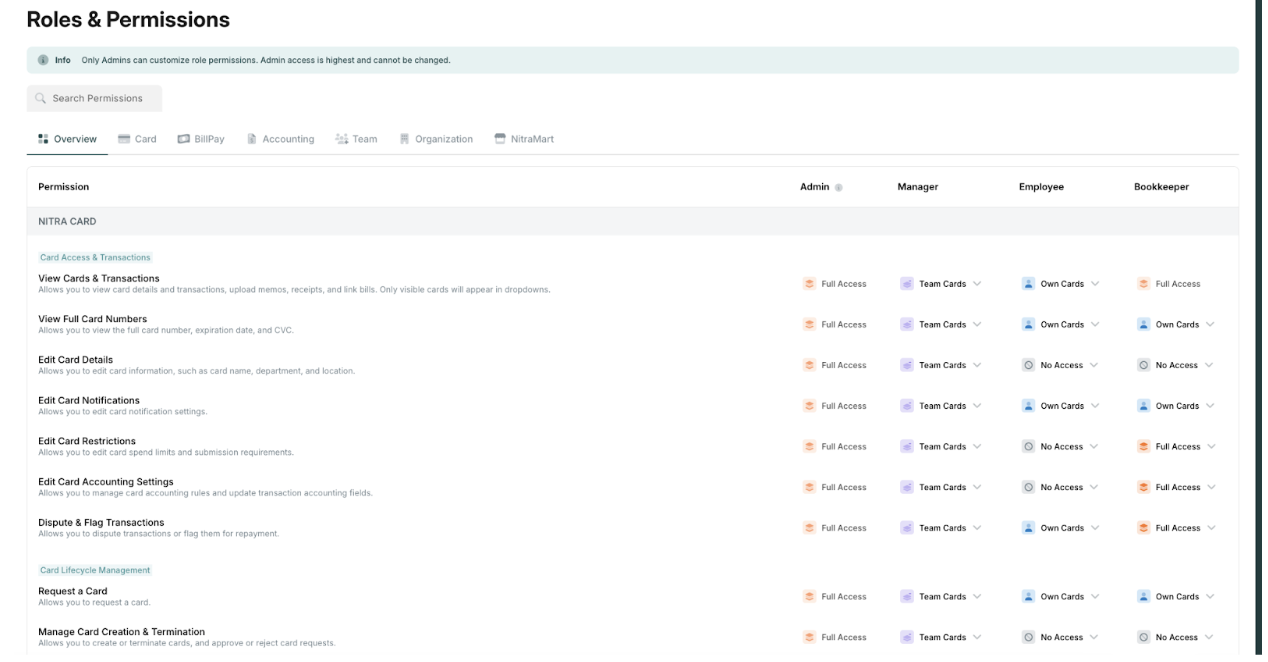
Nitra offers several user roles and permission levels that help organizations manage their finances efficiently while keeping proper oversight and security in place. The available roles—Admin, Manager, Employee, and Bookkeeper—each come with defined access privileges and responsibilities. By using these roles effectively, practices can streamline their spend management operations and maintain a smooth, well-controlled financial workflow across the organization.
Admins
Admins share the same permissions and have complete access to the entire platform. Because of this, they can use all of Nitra’s features and controls, and are responsible for:
Set-Up: Configuring organization-wide settings in Nitra, such as connecting company bank accounts, enabling auto-pay, adding new users, applying business-level monitoring controls, and more.
Spend & User Management: Managing team access by inviting new members, assigning individual spending limits, and tracking balances and transactions.
Accounting: Adjusting Nitra to align with the practice’s accounting workflows, integrating accounting software, and reviewing statement histories.
Managers : Users who can invite new members to join their team.
Managers are users who can invite, issue cards and funds, and oversee the spending of their own teams.
Employees: Users who can be issued cards (physical or virtual) but cannot invite others or issue cards themselves.
Employees are all other company employees who can make purchases through their individual Nitra cards. Employees can text or email receipts and memos to Nitra, which are automatically matched to the right transaction.
Bookkeepers :
Users who are given read-only access to the account to help with accounting or expense management. They can be staff members or external users.
Inviting Team Members:
Sending out invites
When inviting users to Nitra, some required and optional inputs need to be populated.
Required fields:
Email address
Department
Location
User role (See roles)
Optional fields:
Manager
How invites work
When you invite a user to Nitra, they will receive an email with a secure link to sign up and join your business on Nitra.
Invites can also be deleted before the invitees have been accepted. To delete an invite, locate the user in the "Pending Invites" and click on the trash can icon. This will deactivate their pending invite immediately.
Inviting a single user to Nitra
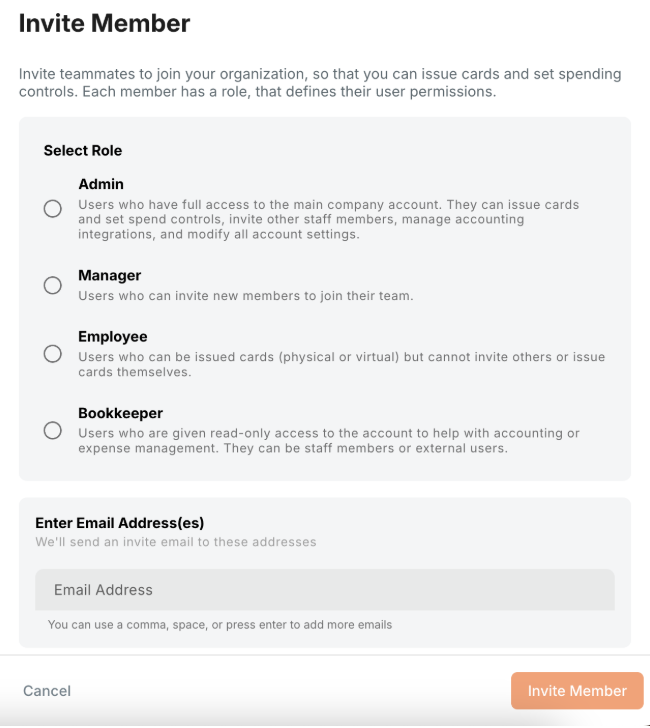
To invite a single user to Nitra:
Go to “Team”Organization > People > click the "Invite people" button (on the top right)
Select the user role for the invitee
Input the required fields (and any optional fields)
Click "Send invite"