Accounting: Split transactions
Last updated: August 6, 2026
Splitting a transaction lets you divide a single card transaction across two or more accounting line items — each with its own GL account, class, and other accounting fields — so a purchase can be coded to more than one category. This is useful when one charge covers several expense types, or when you need to record a discount or credit against part of a charge. Card transactions sync to your accounting platform as an Expense, and each split becomes its own line on that expense.
Before you start
A transaction must have at least 2 splits, and the splits must add up to the transaction total exactly before you can save.
Every split needs an Accounting GL Account. A split of $0 (or 0%) is not allowed and will show an error.
How to split a transaction
Go to Accounting in the left sidebar, then open Card Transactions.
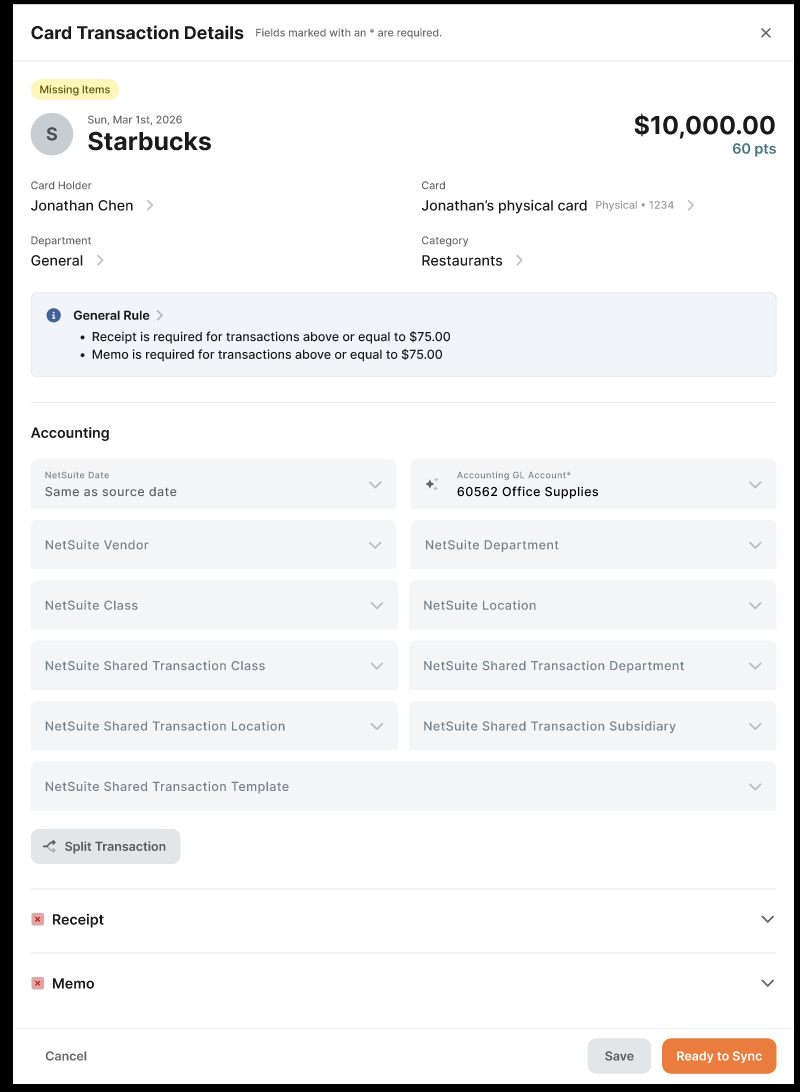
Click the transaction you want to split to open its detail panel.
[Screenshot — Card Transactions list with a transaction row]
In the Accounting section, click Split Transaction. (If the transaction is already split, this button reads Edit Split.)
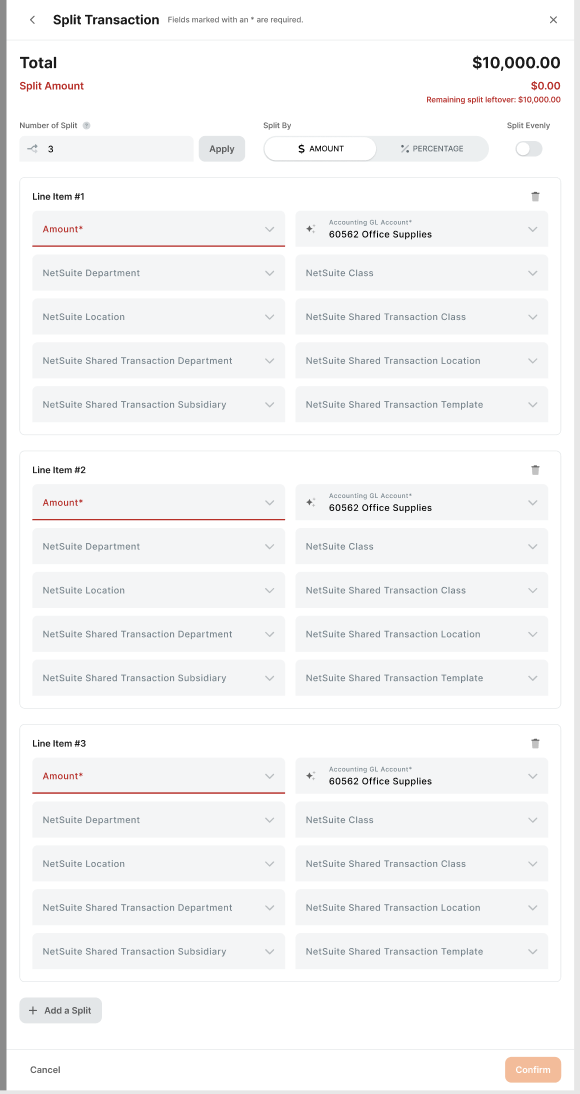
The split dialog opens. The transaction Total appears at the top, and Split Amount shows the running sum of your splits. It stays green while your splits add up to the total and turns red — with a Remaining split leftover amount — when they don't.
[Screenshot — split dialog: Total, Split Amount, Number of Split, Split By, Split Evenly]
Set the Number of Split you want (minimum 2) and click Apply. You can also add splits one at a time with Add a Split, or remove a split with the trash icon (available once you have more than two).
Choose how to divide the transaction under Split By:
Amount — enter a dollar amount for each split.
Percentage — enter a percentage for each split; Nitra shows the matching dollar amount beneath each field.
Turn on Split Evenly to divide the total equally across all splits automatically. (Turning it on overwrites any amounts you've already entered.)
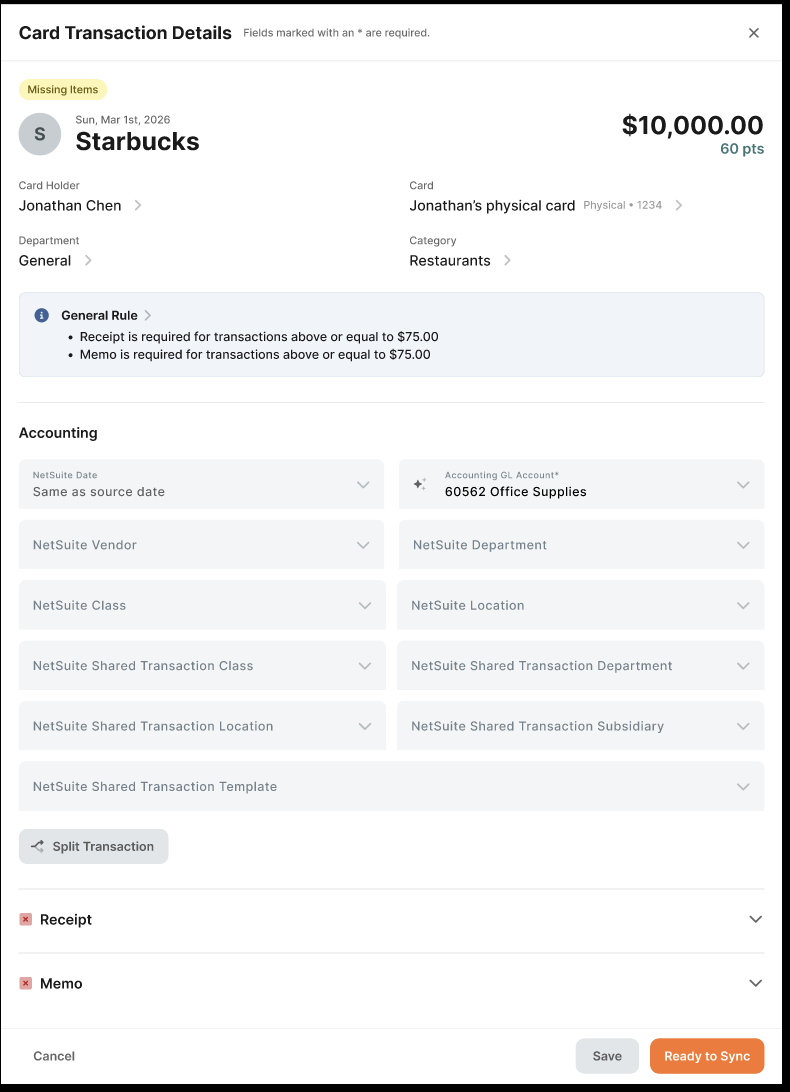
For each line item (Line Item #1, Line Item #2, and so on), fill in the fields:
Amount (or Percentage) — required.
Accounting GL Account — required.
Accounting Class, and Department, Location, or any custom fields your accounting platform supports.
[Screenshot — split dialog line items with Amount, Accounting GL Account, Accounting Class]
When Split Amount matches the Total and every required field is filled, click Confirm. If you're editing an existing split, click Update instead.
That's it — each split syncs to QuickBooks Online as its own line on the expense.
Auto-calculated remainder (Amount mode)
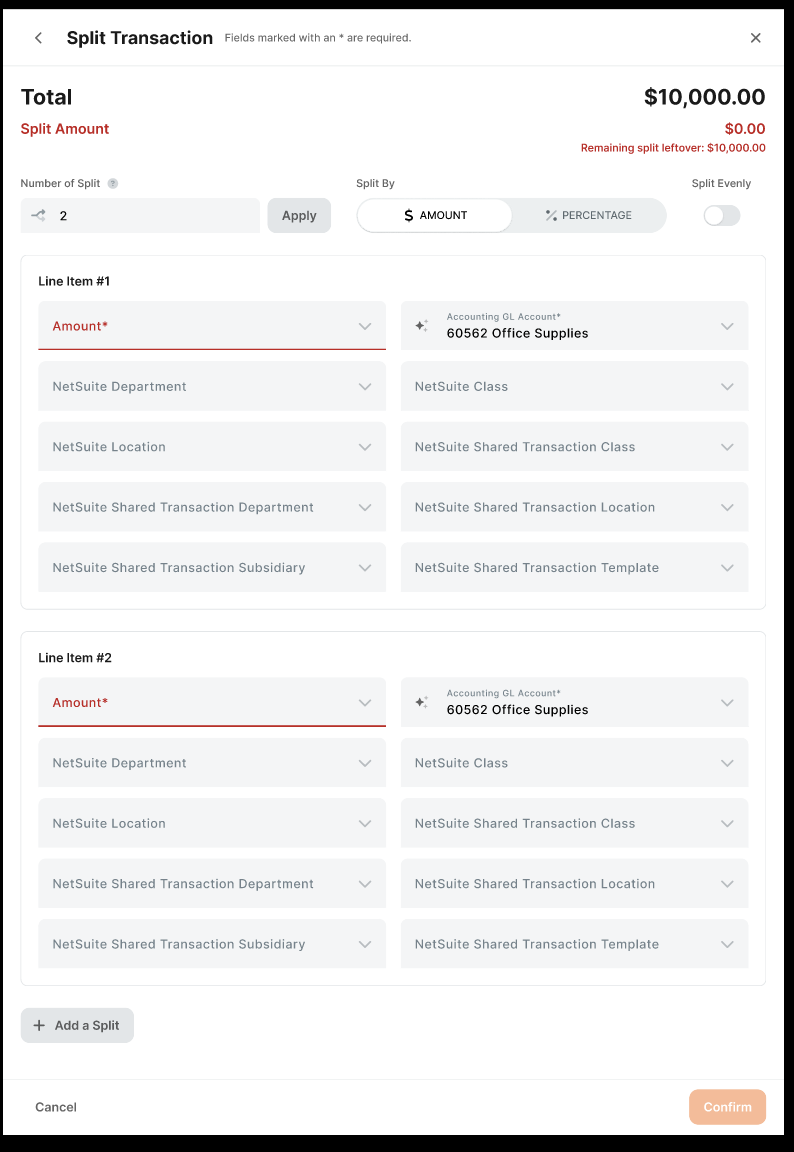
When you split By Amount, you no longer have to do the math for the last split. As you enter an amount, Nitra automatically fills the remaining split so the splits always add up to the Total.
With 2 splits, entering an amount in one split fills the other automatically. For example, on a $100 transaction, entering $30 in the first split sets the second to $70.
With 3 or more splits, the remainder flows to the last split you haven't edited yet. Once you've edited every split manually, Nitra stops auto-filling and shows the Remaining split leftover warning until the amounts reconcile.
[Screenshot — Amount mode auto-filled remainder]
Using negative split values
You can enter a negative amount (or negative percentage) on a split — for example, to record a discount, rebate, or promotional credit against part of a charge and code it to a contra account. A negative split is valid as long as all splits still add up to the transaction Total exactly.
For example, on a $500 supply order with a $50 promotional credit, you might enter one split of $550 to a supplies account and one split of −$50.00 to a credits/contra account, so the two sum to $500.
Negative amounts display in standard accounting format, e.g. −$50.00.
In Percentage mode, a split can go above 100% or below 0% (for example, 110% offset by −10%), as long as the percentages sum to exactly 100%.
A split of exactly $0 or 0% is still invalid and will show an error.
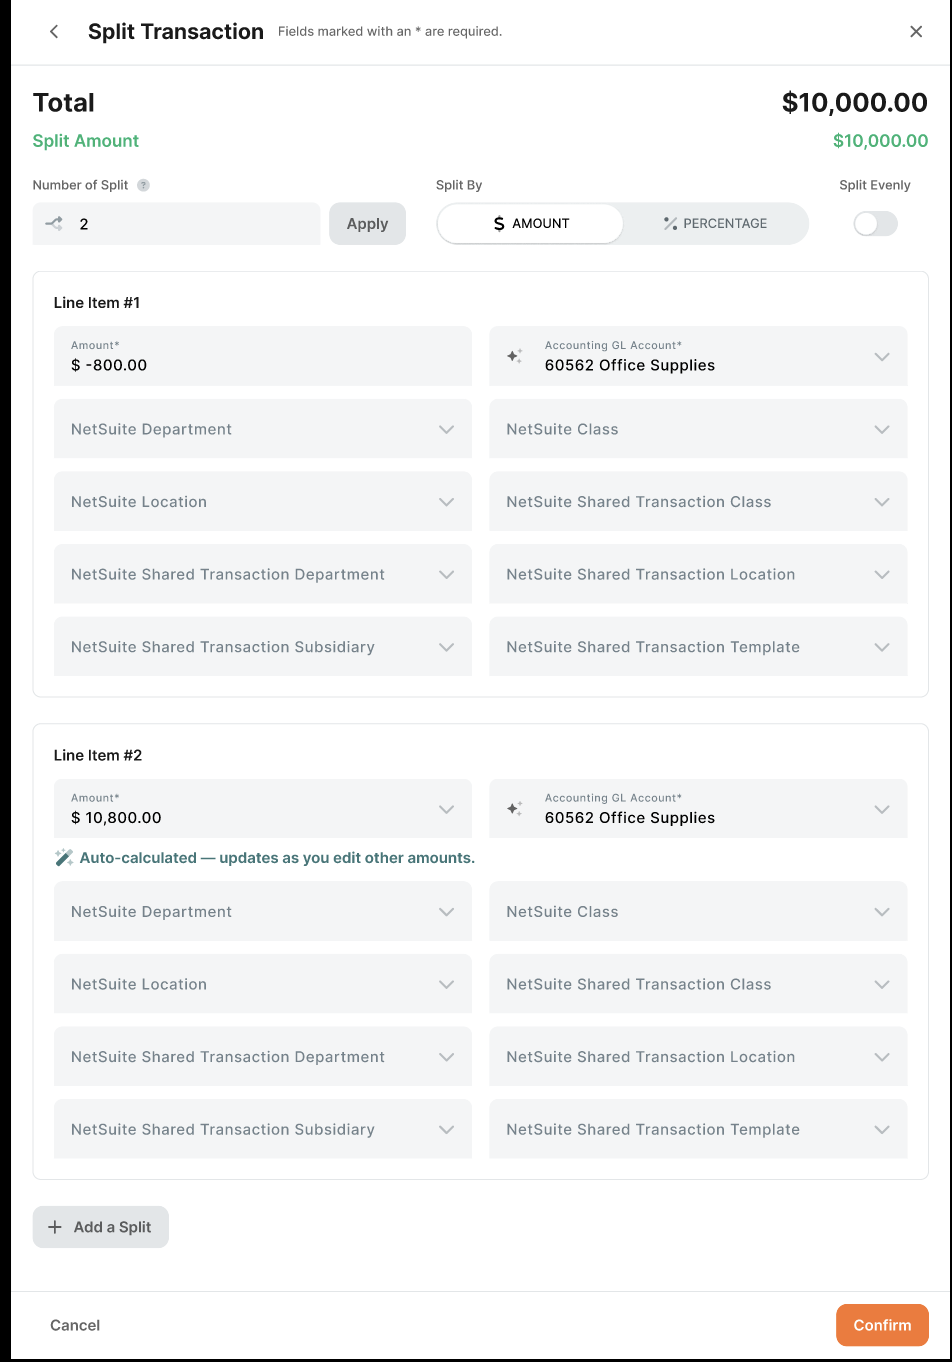
[Screenshot — a split with a negative amount]
Removing a split
To undo a split and return the transaction to a single line item, open the split dialog and click Unsplit Transaction, then confirm. This removes all splits and reverts the transaction to its original total.
[Screenshot — Unsplit Transaction button and confirmation]